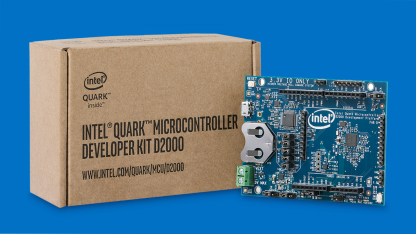
loading image to Intel d2000 board
In this blog we will see how to load .elf file generated by eclipse to intel d2000
first you need get the drivers right for your board. The board may be detected by the system as COM port. If you so you may not be able to load the image
You can use zadig tool to install the correct driver.

after installation of WinUSB driver , the device will be shown as USB devices in Device Manger

if you are loading the code for the first time you might want to update the ROM image.
Loading code to Intel D2000:
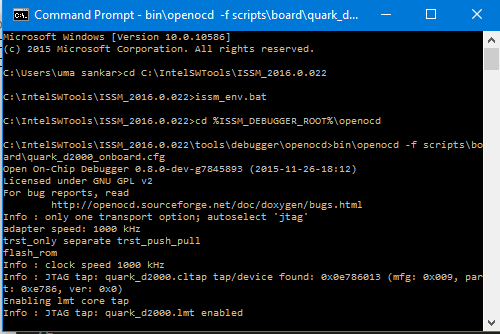
Open command prompt and navigate to the installation directory of the Intel System Studio (ISSM)
Open a terminal to run JTAG-OpenOCD: (navigate to the installation root of the ISSM)
issm_env.bat
cd %ISSM_DEBUGGER_ROOT%\openocd
bin\openocd -f scripts\board\quark_d2000_onboard.cfg
Open a second terminal to connect GDB to port 3333 source (navigate to the installation root of the ISSM), the .elf file will be generated when you build your project.
issm_env.bat
cd %ISSM_DEBUGGER_ROOT%\gdb
gdb-ia

target remote localhost:3333
monitor gdb_breakpoint_override hard
set remotetimeout 30
monitor clk32M
file C:/IntelSWTools/ISSM_2016.0.022/firmware/bsp/1.0/examples/hello_world/debug/quark_d2000/obj/hello_world.elf
load
monitor reset


@Source: issm_user_ref_guide.htm (available along with the system studio installation), for more information about compilation and command line tools , you can refer the same


