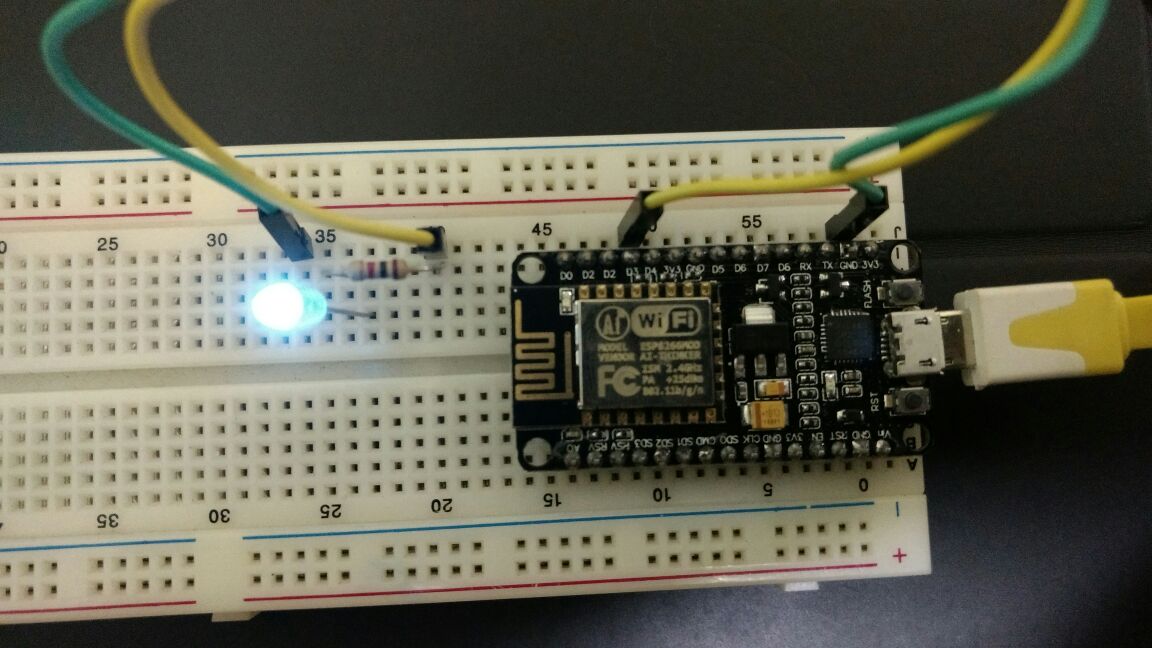
Blinking LED on NodeMCU
The first thing you do after receiving a new board is to run the Blinking LED program.In this blog we will see how to run the blinking LED program on NodeMCU. If you haven’t prepared your environment ,check setting Up NodeMCU
You would have seen many blinking LED programs use the delay() function in a while(1) loop, some thing like the follwing
while(1){
make the LED high
delay(1000);
make the LED LOW
delay(1000);
}
Instead of using the delay functions, we will using alarms of NodeMCU. if very simple to setup an alarm in NodeMCU, you need to pass timer id, alarm interval,alarm type and your function
NodeMCU supports 7 timers , so the alarm id will be any number from 0-6 . alarm type can be any of the following
tmr.ALARM_SINGLE (Alarm will be triggered only once,automatically unregisters itself)
tmr.ALARM_SEMI (you need to call tmr.start() to start the alarm)
tmr.ALARM_AUTO (automatically repeats the alarm, we will be using this type)
tmr.alarm(Tmr id ,interval ,Alarm type , function)
You can read more about the timer functions in nodemcu doc.
You can find the example code for blinking LED below.
--Simple LED blink program
--we will use timers to generate periodic interrupt
LEDGpio=3
LEDBlinkTmrId=0
--in milli seconds
LEDBlinkInrvl=1000
print("LED GPIO:"..LEDGpio..",Tmr ID:"..LEDBlinkTmrId..",Blink Intravel:"..LEDBlinkInrvl.."ms");
gpio.mode(LEDGpio,gpio.OUTPUT)

local function toggle(io)
 if(gpio.read(io)==1) then gpio.write(io,0)
 else gpio.write(io,1) end
 end
tmr.alarm(LEDBlinkTmrId,LEDBlinkInrvl,tmr.ALARM_AUTO,function()
 toggle(LEDGpio)
 end
 )
tmr.start(LEDBlinkTmrId)
define a small toggle() function, which will take the gpio number and toggles the status of the gpio.
define your alarm with the required settings
and finally start the alarm


I’d like to see the same in Arduino IDE ? I want to use Arduino IDE to upload code to Node MCU
http://icircuit.net/using-nodemcu-arduino-ide/1396
this will help
http://icircuit.net/using-nodemcu-arduino-ide/1396