Face Detection using RaspberryPi and OpenCV
Face detection is getting important in many places. Knowing the importance and relevance,Almost all major industry vendors are doing something or other in this field.
Amazon – Amazon rekognition
Google – Google vision
Microsoft – Face API
Open source players
OpenCV
OpenFace
Most of these use deep neural network to detect faces.
I made an attempt to make use of OpenCV and Haarcascade calssifier
I split the content into two topics:
Required items and setting up
Running and results
Required items and setting up
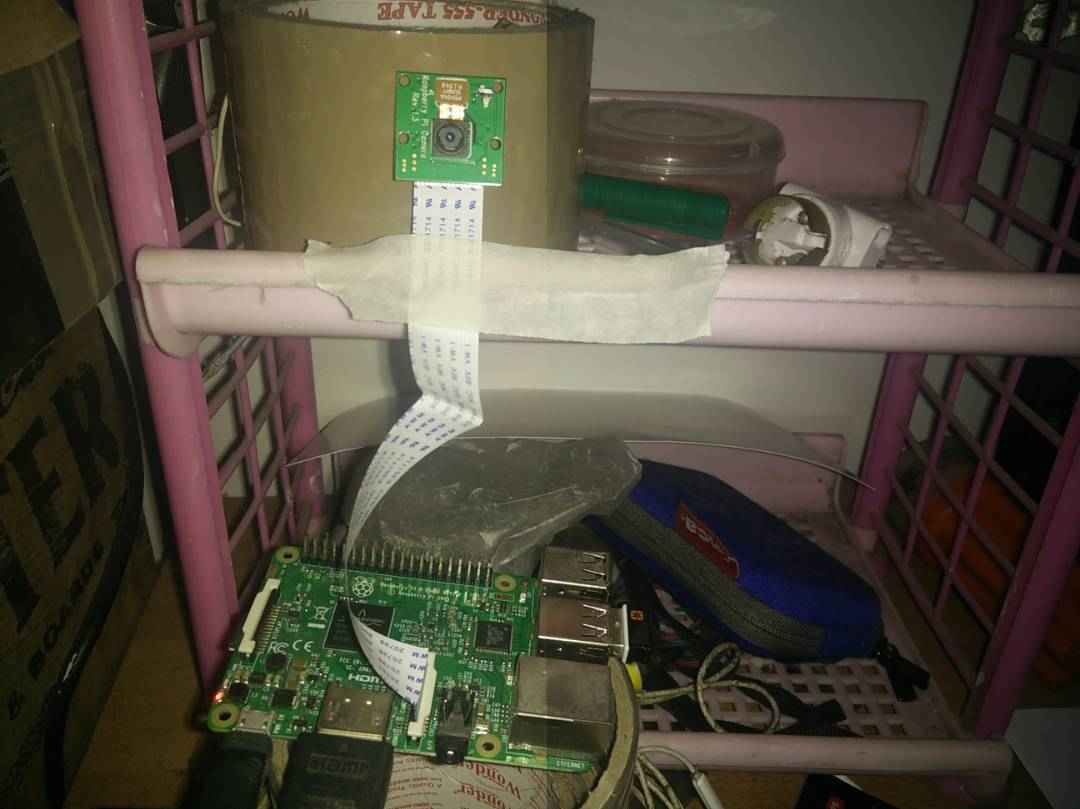
Raspberry Pi with Camera connection kit
OpenCV libarary
Pre-trained classifier files for face and eyes
Putty for connecting Raspi to your laptop (or Monitor and keyboard to work on Raspi directly)
Camera connection kit:
Camera module need to connected to raspi using flex cable
Setting up the environment raspberry pi :
Required libraries need to be installed by executing below commands
Camera need to be enabled in raspi-config
Connection setup :
Confirm camera is working or not by executing this command
sudo raspistill -o filename.jpg
Setting the coding environment:
Python code is used to build the face detection which uses Haar cascade classifier (pre -trained)
Once we get the image, move on to classifier
Now run the python code, `sudo python facedetect.py`
Result image will be stored in the file.
After identifying /detecting the face, we can compare with known face DB.
Face Recognition can be used in numerous ways as we can provide contextual information to the user
1. Preferred treatment to customer (loyal or otherwise) depending on the customer profile
2. Warning to the user if he enters dangerZone or unauthorized zone
3. Can give specific treatment in case of senior citizens or kids
References
http://docs.opencv.org/…
https://www.hackster.io/…
http://www.bogotobogo.com/…
If one does not have camera , still he can run this program using the stock images from gallery ( in stead of live source)
Tweaked code for that case
For object recognition, cascade classifier files need to be generated by training the negative image
http://docs.opencv.org/2.4.13.2/doc/user_guide/ug_traincascade.html
http://docs.opencv.org/trunk/dc/d88/tutorial_traincascade.html
Tweaked code for that case


Thanks Siva – it works. Please can you publish more such simple tutorials so beginners like me can benefit