Creating a Azure IoT hub
In this blog we will see how to create a Azure IoT hub so that we post messages to Azure IoT hub. IoT hub has different SDKs for different devices to allow devices to communicate with the Cloud. For NodeMCU there is no SDK. The good news is that you can communicate with IoT hub using MQTT. NodeMCU has support for MQTT (with TLS support).
Account Setup:
you need to signup for the account first
Once you are done with the account setup , you will be redirected to Azure portal.
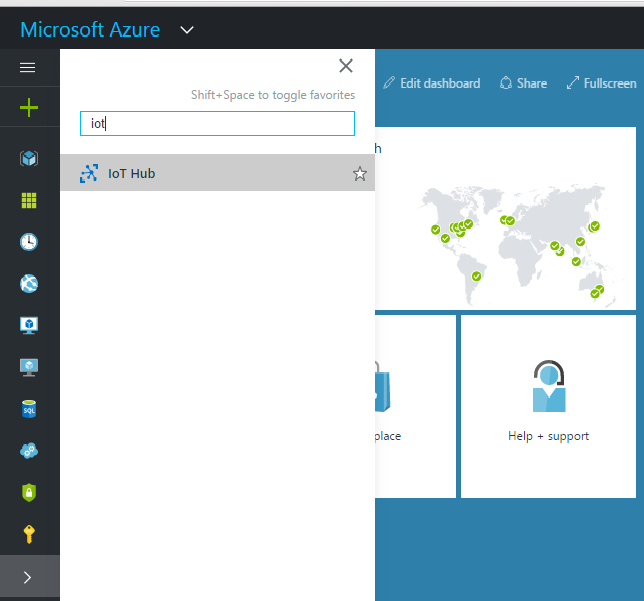
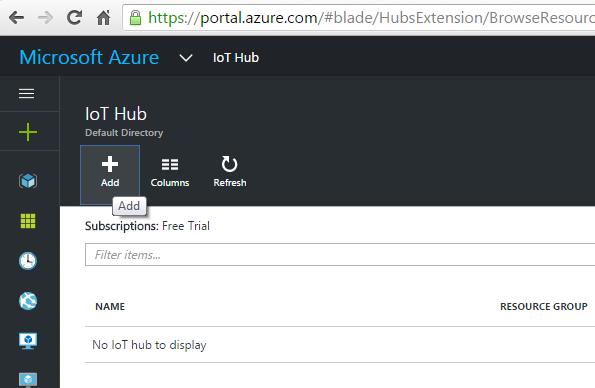
Search for IoT hub as shown above. If you click on the IoT hub , you will get a option to add new instance.
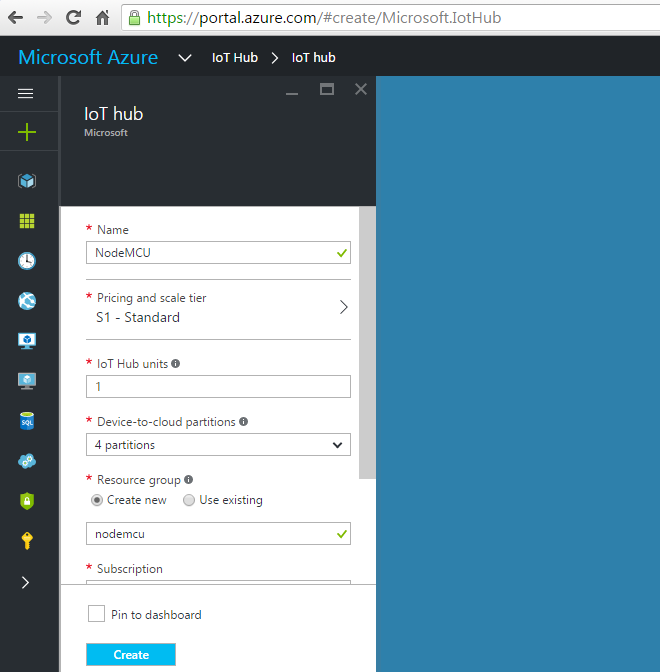
Fill the required fields. Check DM (device management) box if not checked already.
Once account it is created, it will take some time for the instance to be available.
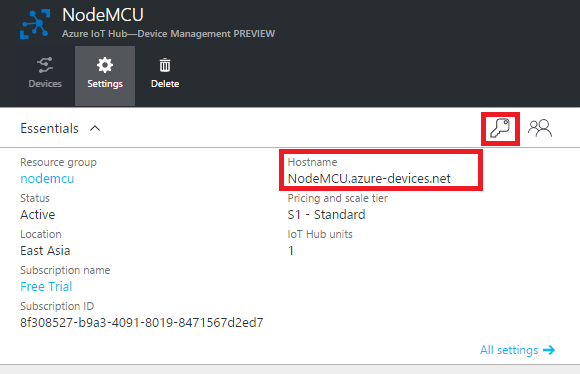
Note down the hostname,you need add a device to Device identity registry to be able to send messages from NodeMCU. It exposes a REST API using we which we can create new devices. There are Service SDKs available for different platforms. You can use the SDKs or the REST API. There is Device Explorer application which lets you to manage devices. This is the easiest option to register a new device.
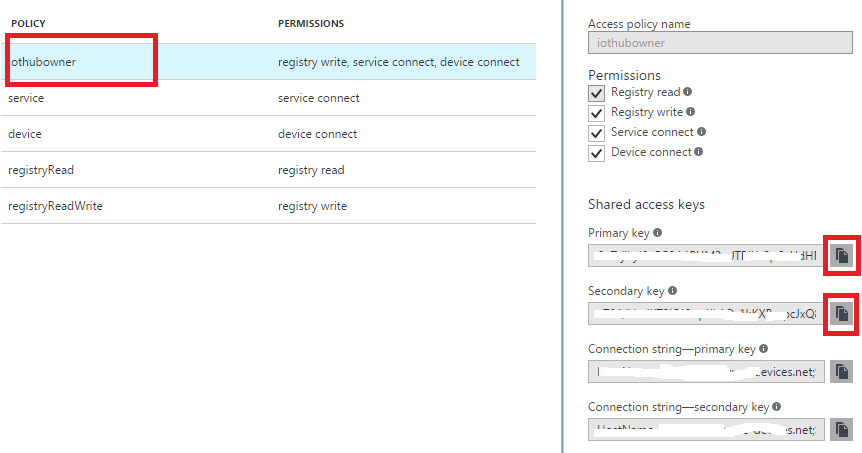
click on keys symbol, then select “iothubowner” policy. copy the primary key , secondary key and the connection string . you need them to create a new device in IoT hub.
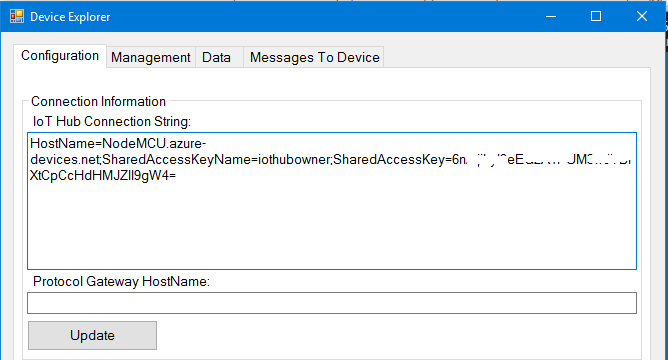
Download the DE( Device Explorer ) from here . Install and open the DE, paste your connection string and click update.
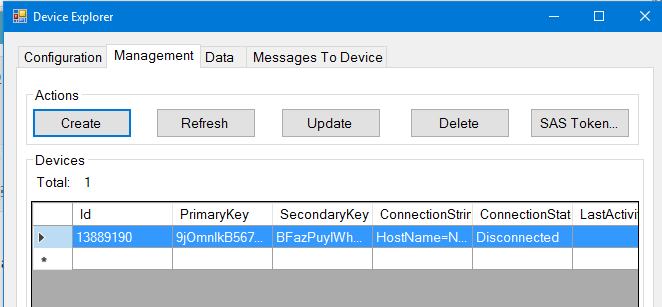
Next you need to register your device
DE -> Management -> Create
Click on create , It will ask for device Id, you can use any unique value, I will be using NodeMCU chip id.
print(node.chipid())
If the device creation is successful the management screen should show something like this.
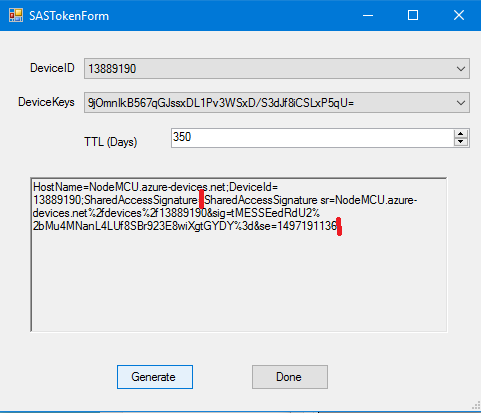
SAS Token:
Next you need generate a SAS token click on SAS Token button. Update TTL to 350 (this is token validity), then click on generate. String starting from Shared Access … is the SAS token. You need to provide this token as password in MQTT connection details. Now you can move on to connecting your NodeMCU with the IoT hub.