How easy it is to build an IoT application ?
Well, the answer is Very easy. Hope you will concur with me when you finish reading this blog.
Flow of the blog:
What is Arduino 101?
Steps involved in building app
My experiments with Arduino 101 – Gyro, Counting steps , Heart rate monitoring using BLE
What is Arduino 101?
First let me explain the new board, Genuino 101 (or Arduino 101), which is launched last week by Intel for education purposes. This board is approved to be used in US schools.
Arduino platform was there for long time, How it is different?
Typical arduino developments has below additional steps:
To add external sensors
To add Time feature as it lacks RTC
It works on 5V, not compatible with 3.3 V devices
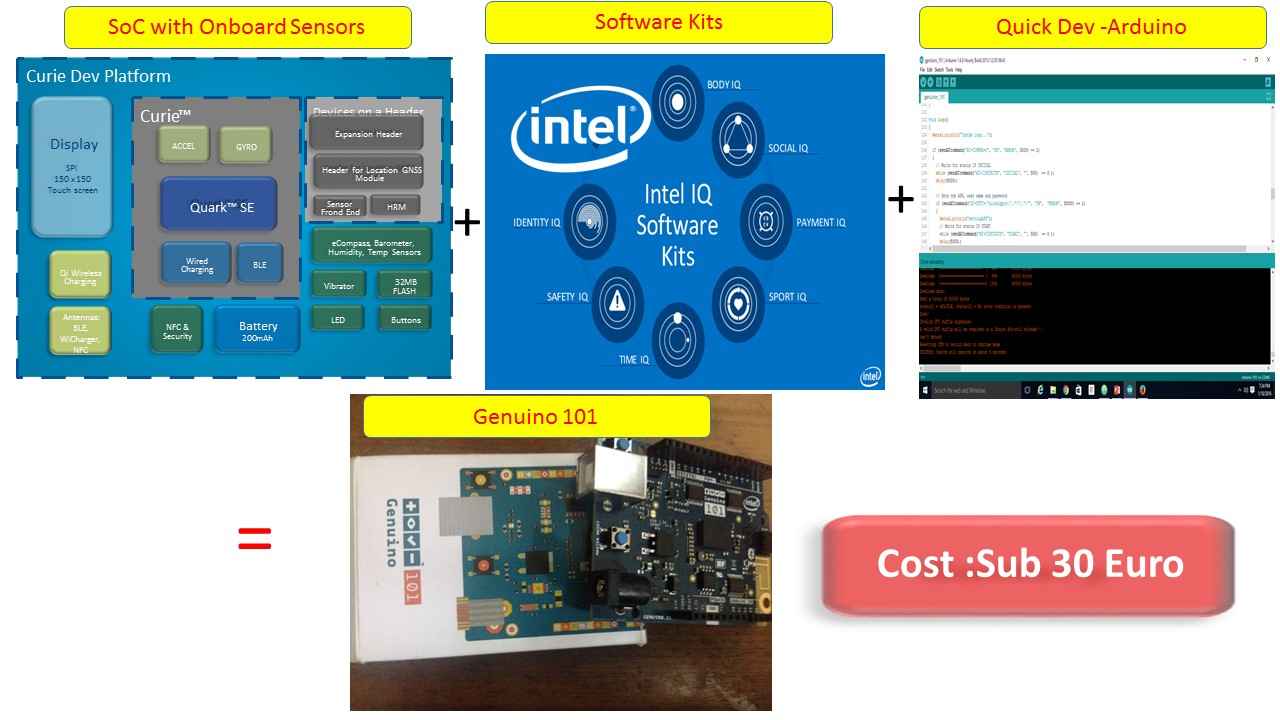
This Genuino101 board covers all these gaps.
This picture gives better explanation.
Intel Curie Module targets wearable market. The Curie datasheet claims the below
The Intel Curie Module includes:
- Low-power, 32-bit Intel® Quark™ microcontroller
- 384kB flash memory, 80kB SRAM
- Bluetooth Low Energy
- 6-axis combo sensor with accelerometer and gyroscope
- Battery charging circuitry (PMIC)
- Low-power, integrated DSP sensor hub and pattern matching technology
The module contains two tiny cores, an x86 (Quark) and a 32 bit ARC architecture core, both clocked at 32MHz. The Intel toolchain compiles your Arduino sketches optimally across both cores to accomplish the most demanding tasks. The Arduino core can do it via static mailboxes, so it can only accomplish a predefined list of tasks (interface with PC using USB, program the sketch into flash, expose Bluetooth LE functionality to sketch, perform PWM).
The 101 comes with 14 digital input/output pins (of which 4 can be used as PWM outputs), 6 analog inputs, a USB connector for serial communication and sketch upload, a power jack, an ICSP header with SPI signals and I2C dedicated pins. It is compatible with all the existing Shields.
Steps involved in Building app using Arduino 101:
0. Procure Arduino 101 board from Arduino store
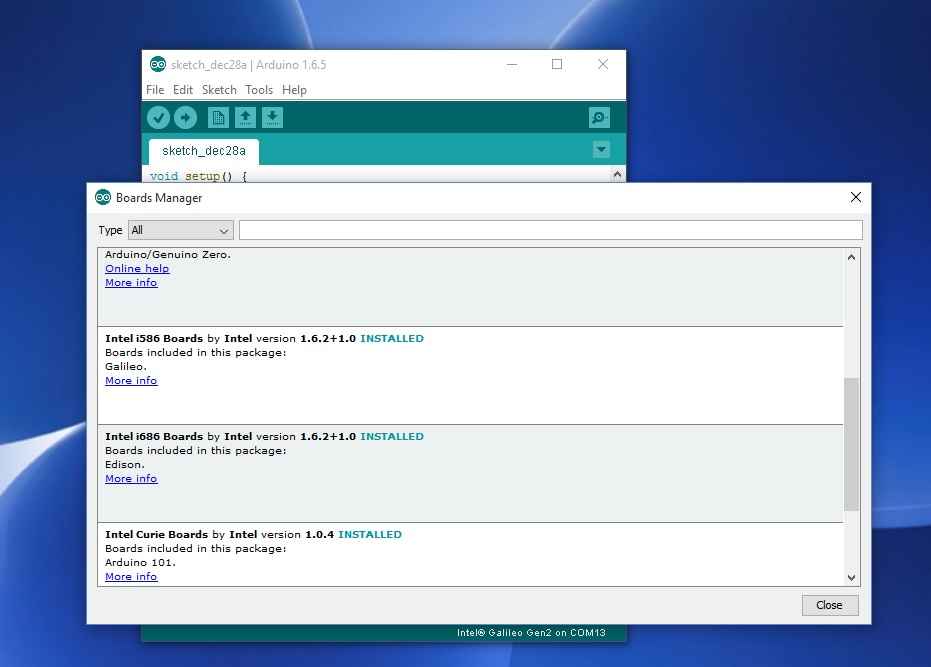
1.Download Curie tool-chains from boards manager
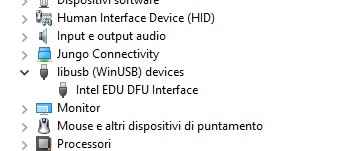
2. Connect Genuino 101- verify from Device manager (lsusb for Linux)
One can see new COM port. For uploading sketches the board uses DFU protocol
The DFU device is only present for a few seconds after a board reset – then the Arduino101 COM device appears.
- libusb (WinUSB) devices / Arduino 101 DFU Interface
- Ports (COM & LPT) / Arduino 101 Serial Monitor (COMx)
3. Choose the right com port and Choose Arduino101 form the tools menu
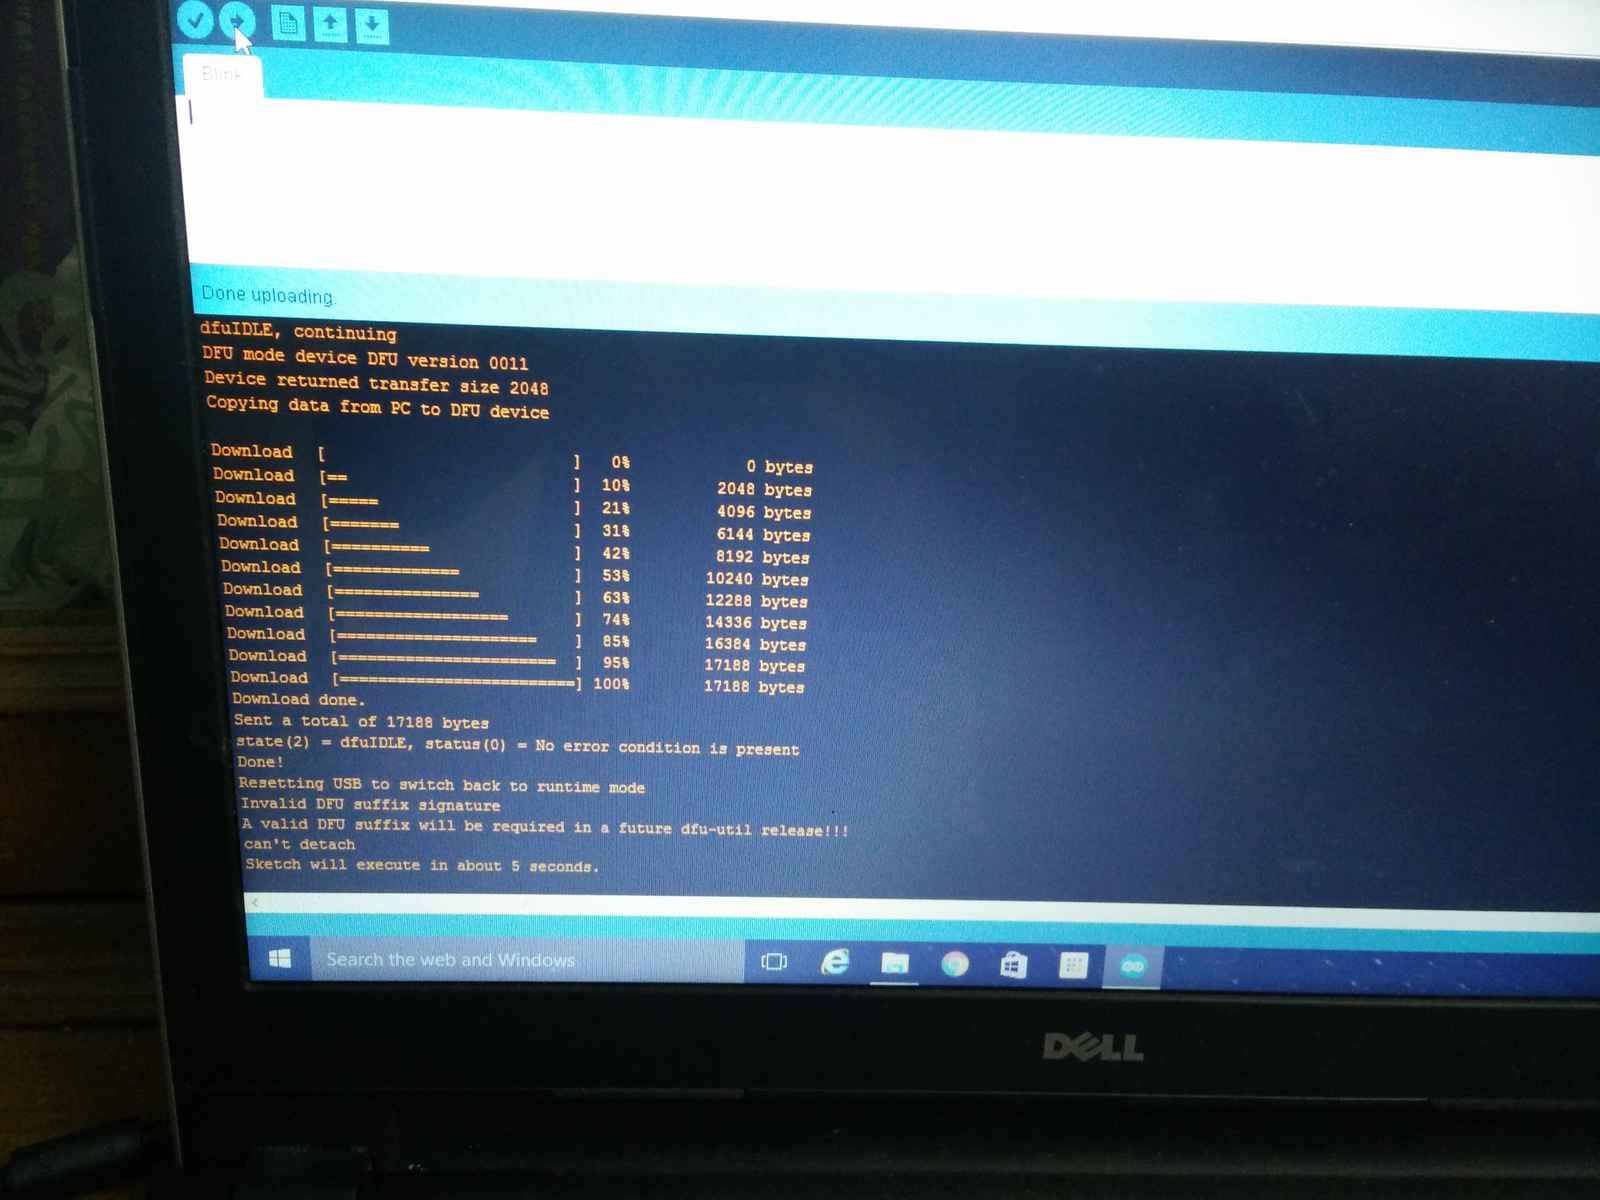
4. Try flashing “blink”example, onboard LED(on pin13) will blink.
Screen looks like this once upload is complete.
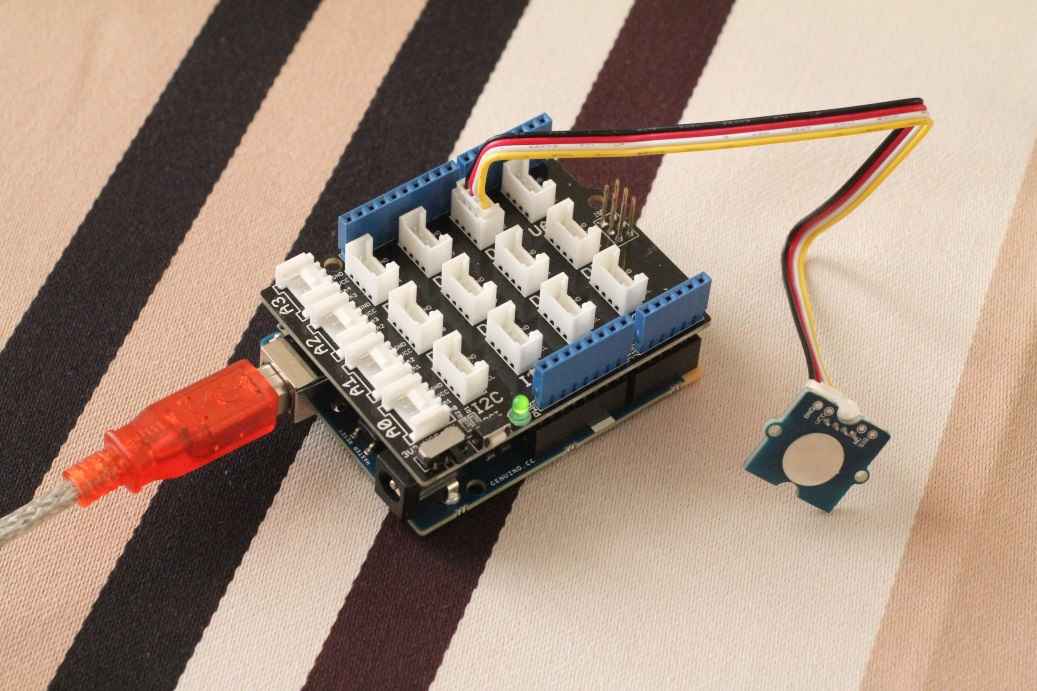
5. Then using Groove kit, One can attach any digital or analog sensor and read the values easily
Picture:
Now third part of blog My Experiemnts with Arduino 101 – Gyro, Counting steps , Heartrate monitoring using BLE
First step:Purchasing – I placed the order on 23rd Dec last year as soon as the board was launched. Later I found that now this board was not made available to ship to India. Luckily I got the board. Mostly it will be available from April 2016.
Then there were few initial challenges uploading the sketch. Later I realized that manual master reset is required to upload the sketch to change into DFU mode.
After blinking (Hello World of hardware industry), I explored the following
1. Using Gyro and 6 axis accelerometer
2. Use of BLE for battery charger,LED
3. Use of HeartRate monitoring(simulated via AO analog sensor)
4. Posting data to Cloud IoT middleware (Like TCUP) or AWS,Azure
Using Gyro:
There are few examples in the library. The output of the board can be sent to Processing software to visualize.
(Parents can download to teach shapes with easy programming- Processing is a flexible software sketchbook and a language for learning how to code within the context of the visual arts)
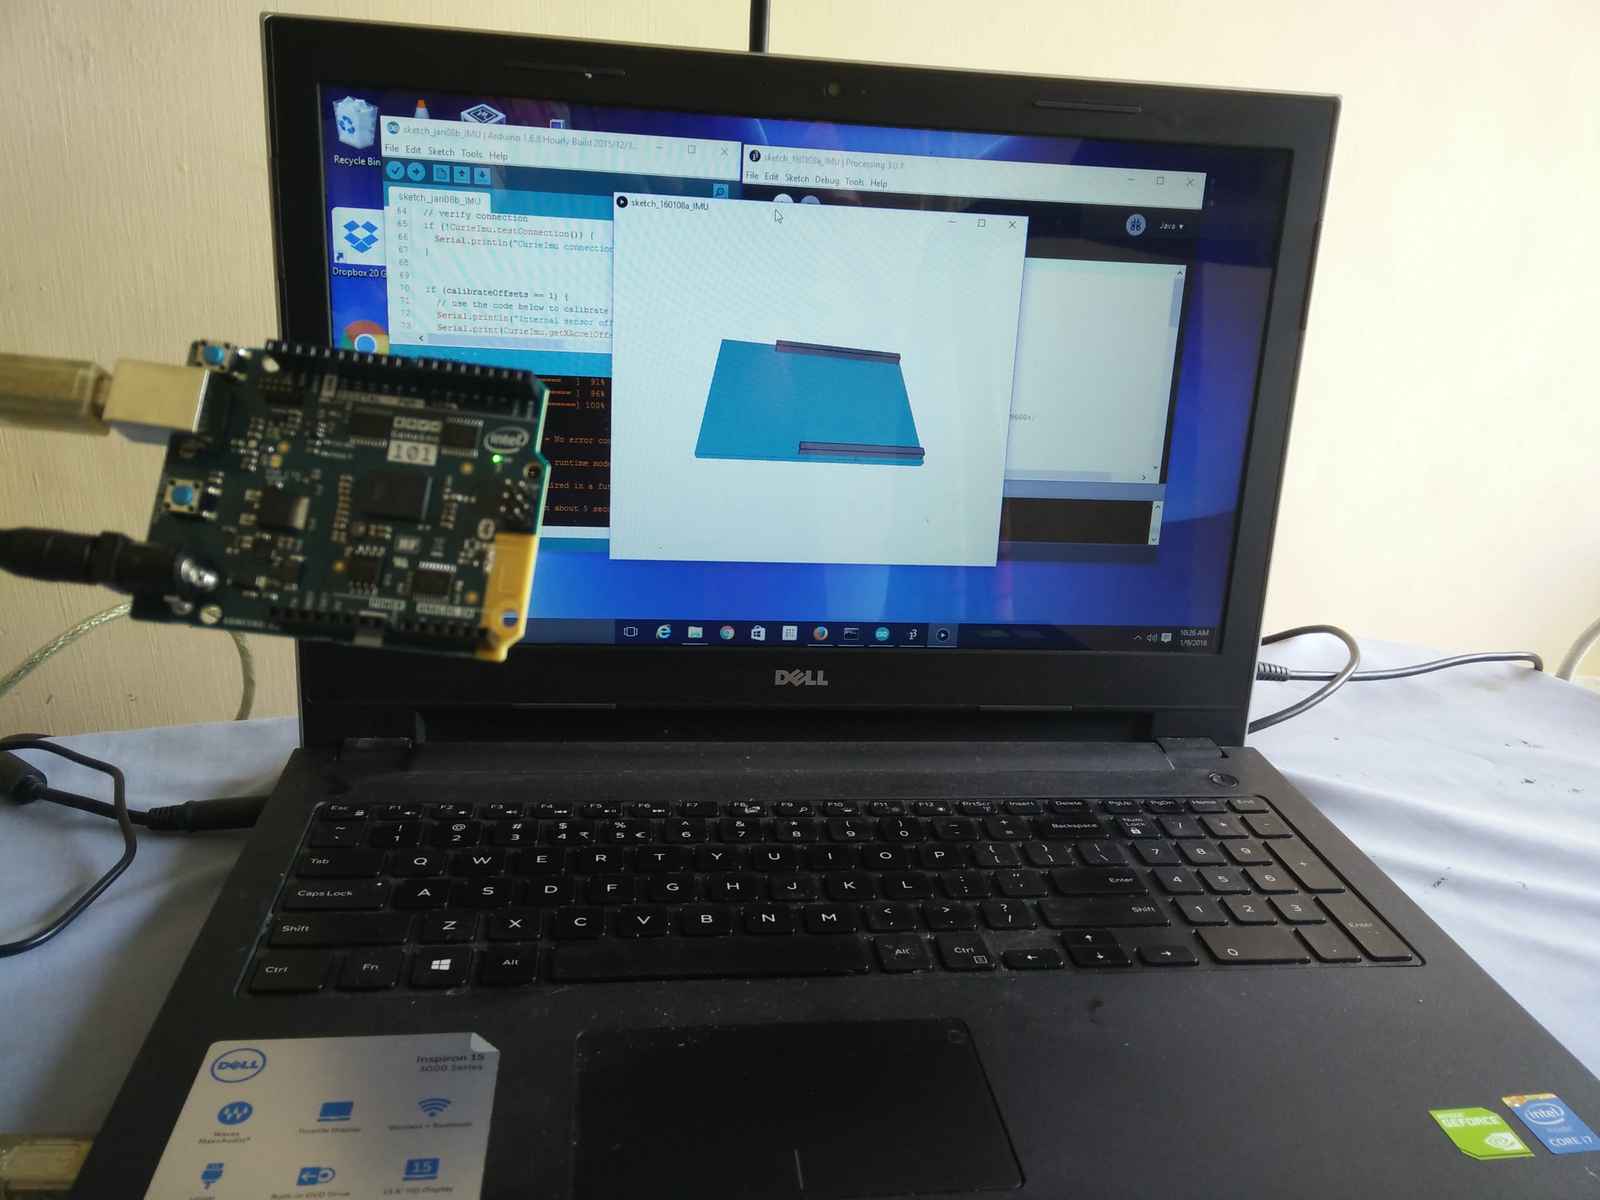
Given below is the board and simulated the position in the Processing software. (Meaning, when you move the board, real position is shown on the screen)
Use of BLE for batteryMonitoring and Remote LED:
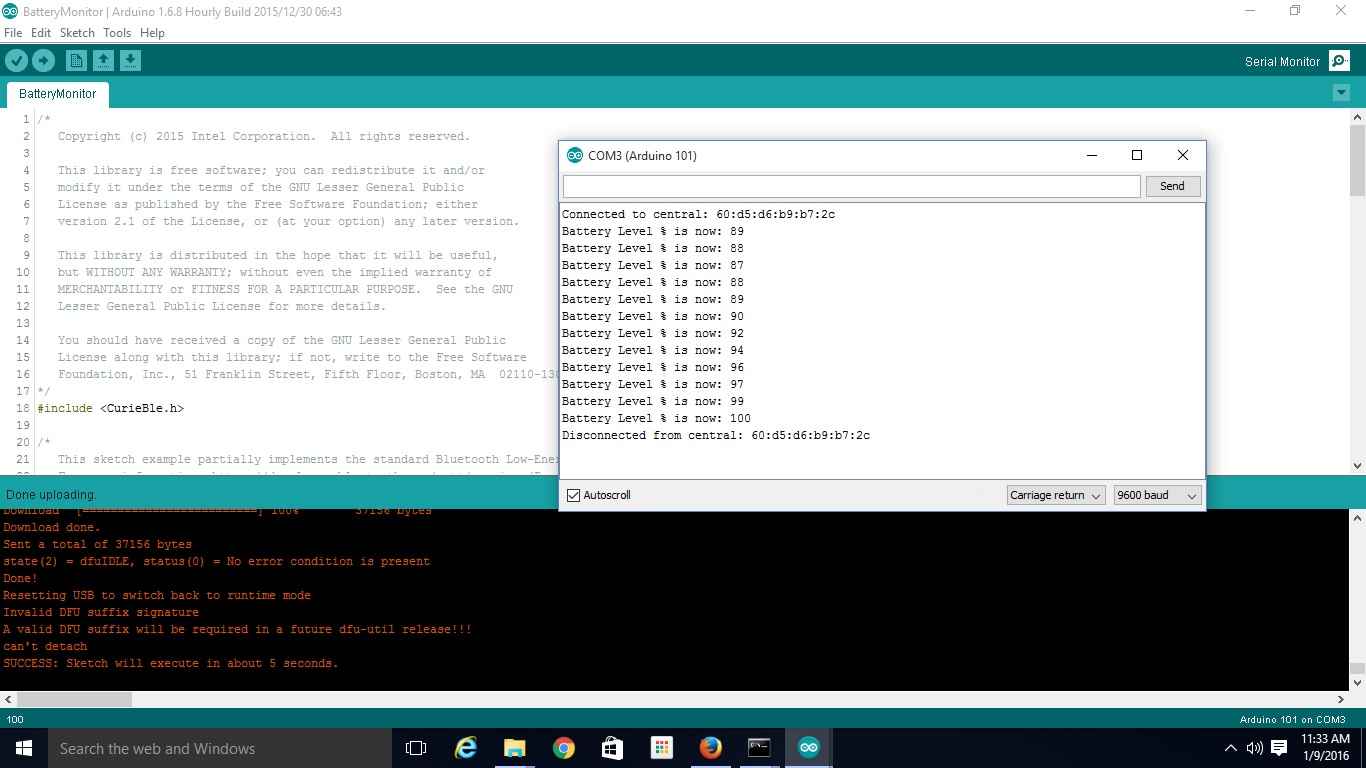
Send the simulated batterylevel from AO(analog sensor) and connect the other app from Mobile phone(or BLE capable device) to show the battery level.
For Windows 10 laptop, I installed newbIT BLE tool
Android users can use the app BLE scanner from BluePixel technolgies
Use of Heart rate monitoring using BLE
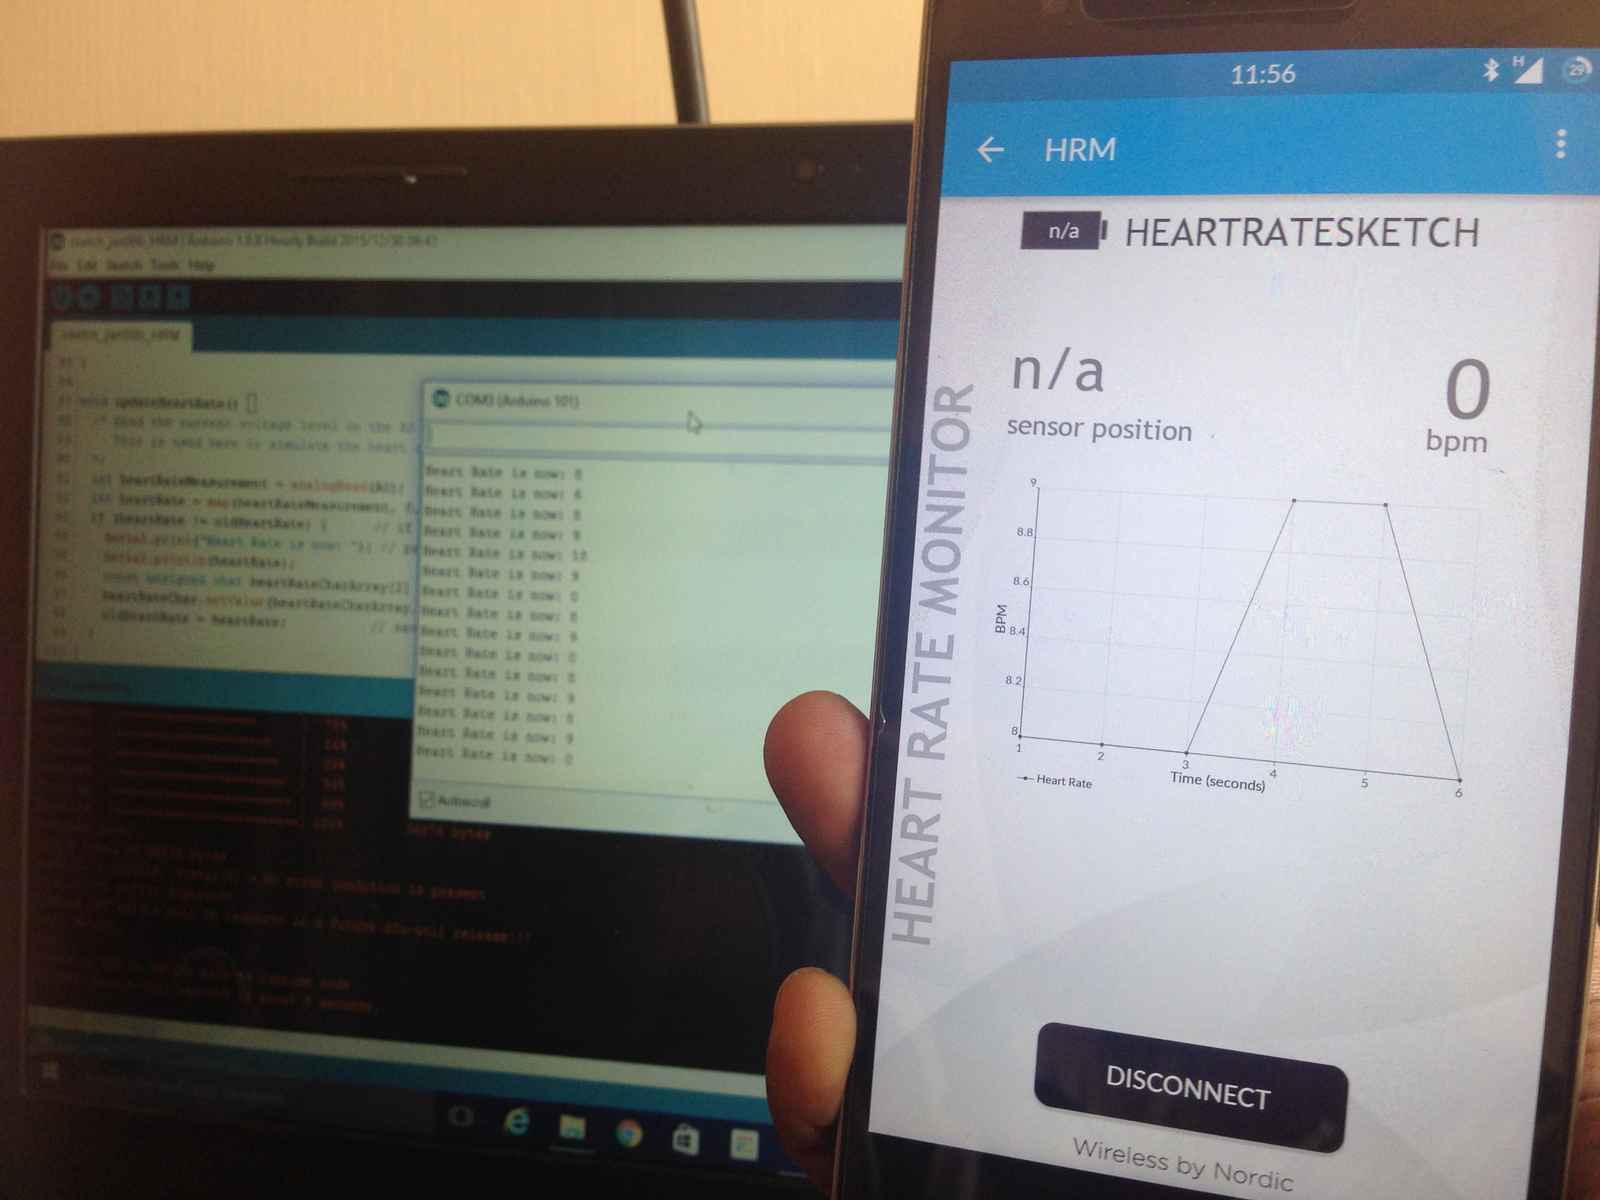
This is simulated data from analog sensor A0 is sent and BLE advertising is done.
NRF toolbox , a companion app from Nordic, supports the BLE monitoring HRM.
Attaching the screenshot of connecting my Mobile phone with the Arduino101
I had done all these experiments in just 7 days. It is not SO difficult.
Conclusion:
1. No need to connect many external sensors like BLE, Gyro , It is easy to get started without wiring, soldering, breadboard one can build IoT app.
2. Ardunio platform is english like development and teaching platform using USB device (Just simple laptop is enough)
3. No costly investments
So tell me, How easy it is to build the IOT app?
Life sciences, manufacturing , insurance ISUs may be interested in building similar apps using this kit.
For example, BLENotify service, better guest services can be offered in Hotels.
