Making summer cool – My weekend project with Raspberry Pi -Android Things
Last year 2017 Google announced its new Internet of Things initiative based on Android, the aptly named Android Things. It was back in May 2015 that Google announced Project Brillo as its IoT operating system,which was not very successful, Google decided to ditch it and create Android Things. By adding Android to the name, Google is emphasizing that developers are able to use familiar Android SDKs, APIs and services including the Google Cloud Platform.
Android Things lets one to build professional, mass-market products on a trusted platform, without previous knowledge of embedded system design.
Android Things extends the core Android framework with additional APIs provided by the Things Support Library, which lets one to integrate with new types of hardware not found on mobile devices.
Developing apps for embedded devices is different from mobile in a few important ways such as:
- More flexible access to hardware peripherals and drivers than mobile devices
- System apps are not present to optimize startup and storage requirements
- Apps are launched automatically on startup to immerse users in the app experience.
- Devices expose only one app to users, instead of multiple like with mobile devices.
Android Things supports two boards: the NXP Pico i.MX6UL and the Raspberry Pi 3.
Android Things makes developing connected embedded devices easy by providing the same Android development tools, best-in-class Android framework, and Google APIs that make developers successful on mobile
In this blog, I shall explain how to setup and start building Android app on Raspberry Pi using Android Things OS.
1. Setup android things on Pi – OS and wifi setup
2. Coding in Android studio
3. Sample HelloWorld program and Testing
Setup Android things on Pi
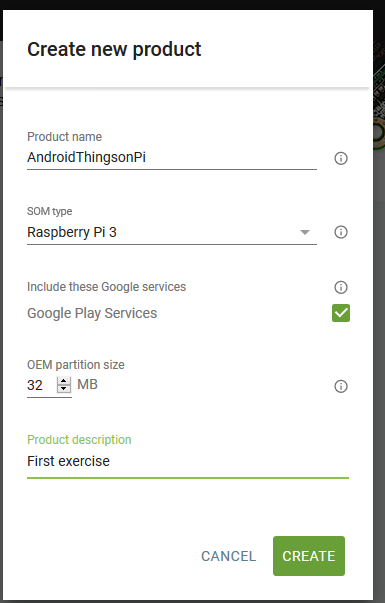
First one has to sign up for Android things page
https://partner.android.com/things/console/
After signing , choose the SOM and RAM type and create project.
Then go to tools page
Run the setup utility as administrator
Utility downloads the image from internet and etcher-cli utility to write to SD card
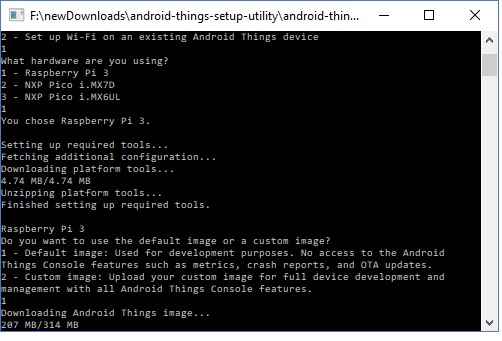
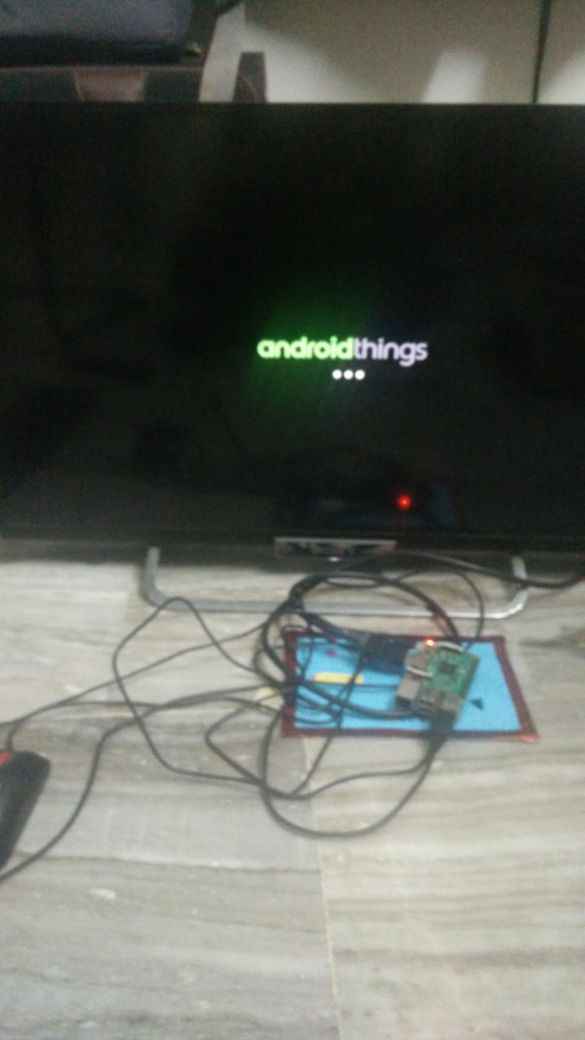
After downloading and writing to Sd card, remove the SD card and put it in PI and start the Raspi.
To have the connection with Desktop where Android studio project is built and Raspberry Pi, one has to connect the Pi with the same router using LAN cable.
OS boots up. One can use setup utility again to setting up Wifi to Pi or connect moitor/keyboard to setup Wifi.
Similar like typical android programming, one can code and connect to devices using adb
What is ADB?
Android Debug Bridge (adb) is a versatile command-line tool which helps to communicate with a device. The adb command facilitates a variety of device actions, such as installing and debugging apps, and it provides access to a Unix shell to run a variety of commands on a device. It is a client-server program that includes three components:
- A client, which sends commands. The client runs the development machine. Invoking a client is easy by a command-line terminal by issuing an adb command.
- A daemon (adbd), which runs commands on a device. The daemon runs as a background process on each device.
- A server, which manages communication between the client and the daemon. The server runs as a background process on the development machine.
$ adb connect <ip-address of Pi>
connected to <ip-address>:5555
Step 2: Coding on Android Studio for Pi
Apps for embedded devices bring developers closer to hardware peripherals and drivers than phones and tablets. In addition, embedded devices typically present a single app experience to users.
Android Things extends the core Android framework with additional APIs provided by the Things Support Library. These APIs allow apps to integrate with new types of hardware not found on mobile devices.
The Android Things platform is also streamlined for single application use. System apps are not present, and your app is launched automatically on startup to immerse your users in the app experience
Android things SDK has API guides to work on
Main libraries :
Bluetooth, device updates, Peripheral I/O, settings
The Peripheral I/O APIs let your apps communicate with sensors and actuators using industry standard protocols and interfaces. The following interfaces are supported: GPIO, PWM, I2C, SPI, UART
General Purpose Input/Output (GPIO) – Use this API for simple sensors such as motion detectors, proximity detectors, and level switches that report their current state as a binary value—high or low.
Pulse Width Modulation (PWM) – Use this API for servo motors, DC motors, and lights that require a proportional signal to provide fine-grained control over the output.
PeripheralManager manager =PeripheralManager.getInstance();
List portList = manager.getGpioList();
if(portList.isEmpty()){
Log.i(TAG,"No GPIO port available on this device.");
>}
else{
Log.i(TAG,"List of available ports: "+ portList);
}
Step 3:
Using Gpio peripheral manager, introduce delay between high and low
Code:
private Runnable mBlinkRunnable = new Runnable() {
  @Override
  public void run() {
  // Exit if the GPIO is already closed
  if (mLedGpio == null) {
  return;
  }
  try {
  // Step 3. Toggle the LED state
  mLedGpio.setValue(!mLedGpio.getValue());
  // Step 4. Schedule another event after delay.
  mHandler.postDelayed(mBlinkRunnable, INTERVAL_BETWEEN_BLINKS_MS);
  } catch (IOException e) {
  Log.e(TAG, "Error on PeripheralIO API", e);
  }
  }
Reference:
https://androidthings.withgoogle.com/#!/kits/raspberry-pi-3-starter-kit
Related Posts


About The Author
Sivaiots
Enterprise Architect , Tinkerer