Testing SCT013 current sensor
NOTE: There are many models in SCT013 series. Some models act as voltage source and some act as current source, you need to make sure that the voltage delivered to the sound card is within the limits of the sound card,otherwise you may damage the sound card. Read this blog to build a front-end circuit for sound card.
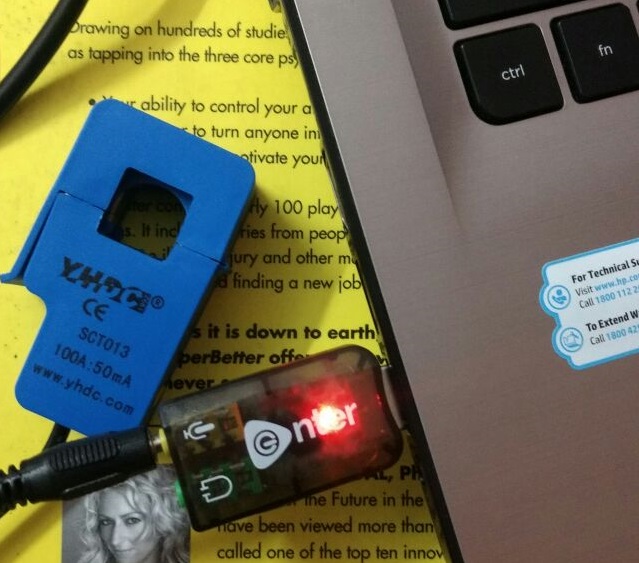
I just got my SCT013 current sensor, Unlike other sensor which may have some DIY friendly interface, this sensor came with 3.5mm jack. We can’t use arduino directly ,to do that we need to cut the jack and access the wires directly which I don’t want to do,with out knowing it is working or not.
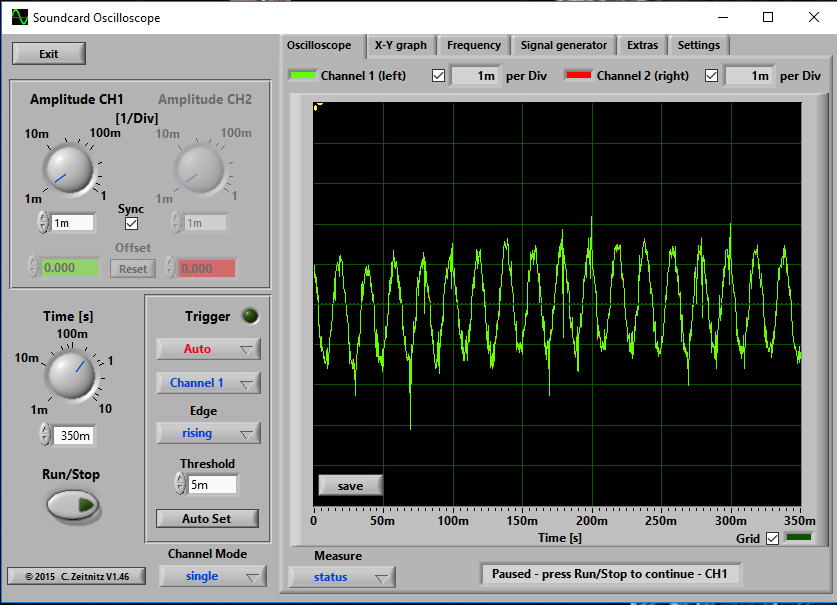
Fortunately we can use computers sound card to measure the current. You need this software to see the data.If you have a desktop/laptop that has separate ports for MIC and speaker , you can directly plugin the sensor. If you have single 3.5mm jack, you need a USB sound card which has separate inputs.
Once you plug in the sensor, you can start the software. This is the reading i got when I attached the sensor to the TV power cable.
Once you are sure that sensor is working , you may cut the 3.5mm jack of the sensor and connect it to microcontroller (Arduino) or you can build a break board the accepts this jack and provide a berg stick interface. If your application runs a windows/Linux machine you can access the readings of the sound card from your application code. Raspberry pi with USB sound card would be a great choice.