Getting Started with ESP32
In this post we will see how to run a hello world program using ESP 32. ESP 32 is new chip from Espressif , the same company behind ESP8266. Espressif released a nice ESP-WROOM-32 which has ESP32-D0WDQ6 inside along with required FLASH memory and antenna.
Many boards are available in the market in the same form factor as that of NodeMCU. Most of these boards are based on ESP-WROOM-32.
Important features of the ESP 32
- Single or Dual core Tensilica Xtensa 32-bit LX6 microprocessor (ESP-WROOM-32 has dual core processor)
- WiFi
- Bluetooth (BLE 4.2 & BR/BDR)
- 512KB of SRAM
- supports upto 16MB of Flash (ESP-WROOM-32 comes with 4MB of FLASH)
- Clock is adjustable from 80MHZ to 240MHZ
- Operating voltage 2.3 V ~ 3.6 V
for latest new on ESP 32, you can check out esp32.net
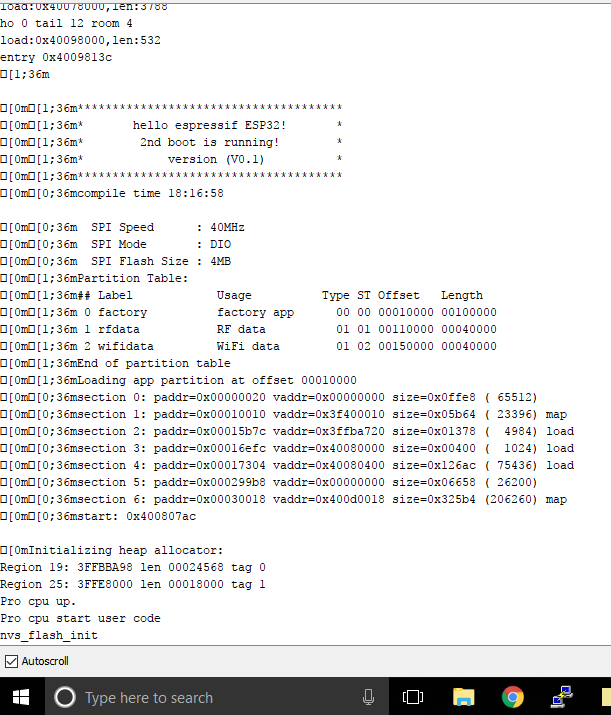
This what i got on serial console when first time i powered the device
The factory app running on the device puts it in the AP mode
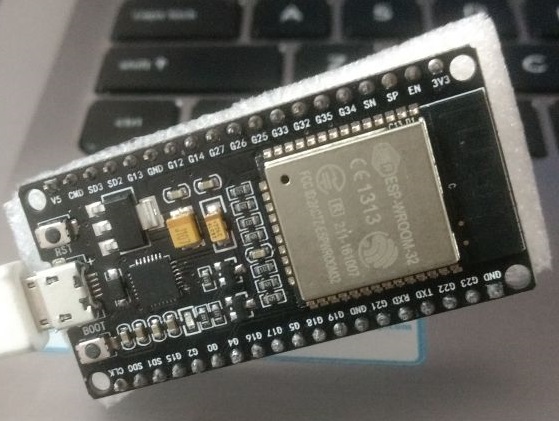
ESP 32 DevKit PinOut
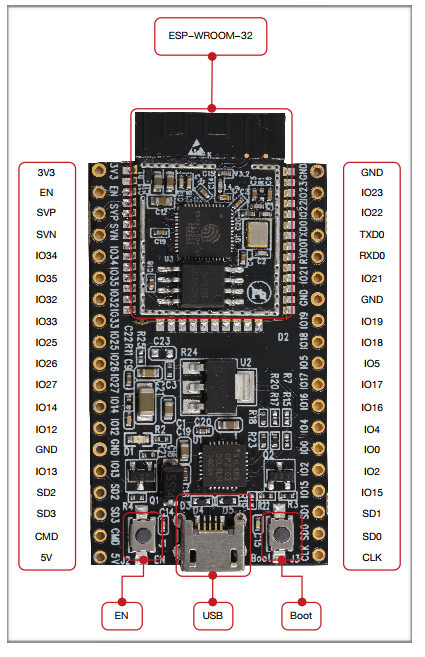
If you are using Arduino IDE to program ESP32, you can refer the IOs with their number(IOx).For example to make IO4 HIGH,you can write digitalWrite(4,HIGH). On ESP WROOM 32,the SDIO Slave interface is already connected to integrated SPI Flash, so you can’t use the following pins
SCK/CLK/SD_CLK/GPIO6
CMD/SCS/SD_CMD/GPIO11
SDO/SD0/SD_DATA0/GPIO7
SDI/SD1/SD_DATA1/GPIO8
SHD/SD2/SD_DATA2/GPIO9
SWP/SD3/SD_DATA3/GPIO10
In case of ESP-WROVER module, the external RAM uses GPIO 16 and GPIO17 for CE and SCLK respectively.
Setting up ESP – IDF For ESP32 :
To develope apps with ESP IDF, we need get the toolchain first, you can download preconfigured MSYS2 from here . Extract the zip to C drive
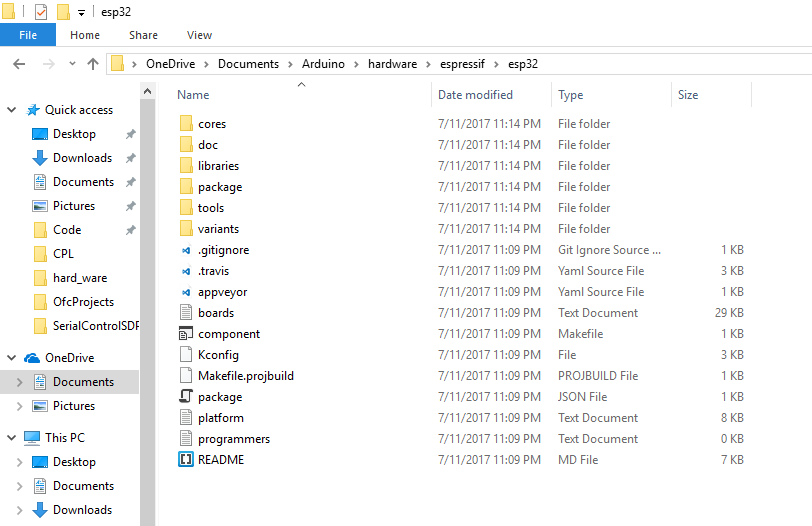
run mingw32.exe
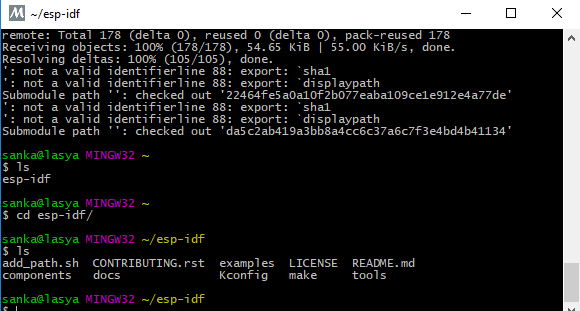
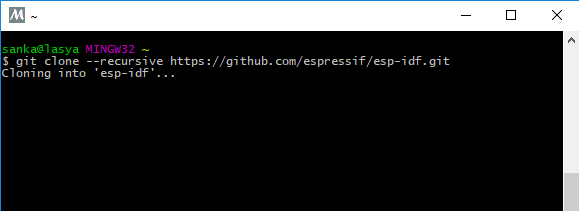
now we can clone the IDF git repo (you can ignore any errors that are printed on console)
git clone --recursive https://github.com/espressif/esp-idf.git

export IDF_PATH=~/esp-idf
once the command completes, IDF will be available in esp-idf folder
Running Hello-World Program on ESP32
ESP-IDF comes with lot of examples, let load hello world program , navigate to hello_world project present in examples folder
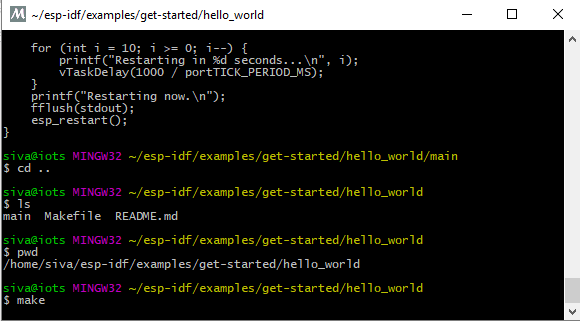
run the following commands
make

make flash

make monitor
make flash will load the code to ESP board, and monitor will open up the console and prints all serial messages
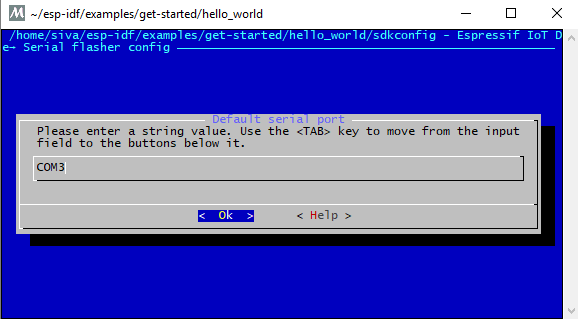
If it is the first time you are running make command it will open up menu config, you only need to change the COM port. (this option is present in serial flasher config) , save and exit…you can fire this menu manually using make menuconfig
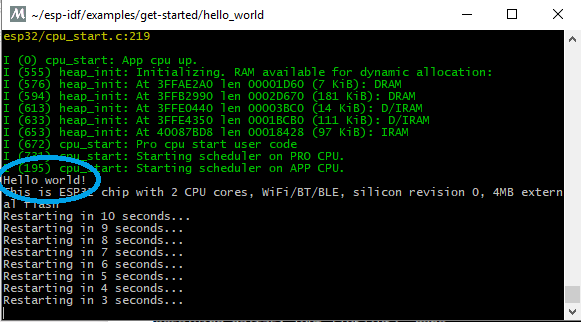
You can see in the following screen shot output of make monitor command
—————————————————————-
ESP32 related blogs:
next we will see how to setup development environment and load code from arduino IDE – Setting up arduino to program ESP 32
You can also use eclipse for development – ESP IDF : Setting up eclipse for ESP 32
Write/Read data from SD card – Arduino: Interfacing SD card with ESP32
FreeRTOS tasks – ESP32 : Creating task using FreeRTOS
Queues – ESP32 : Inter task communication using FreeRTOS Queues
Connecting to WiFi – ESP32 : Connecting to WiFi network
Event Groups – ESP32: Task Synchronization – FreeRTOS Event Groups
Using Timers in ESP 32 – ESP-IDF : Using timers in ESP32
ESP32 TCP sockets – ESP-IDF: ESP32 as TCP Client
Running TCP Server – ESP-IDF: TCP Server on ESP32
Controlling Servo – ESP-IDF : Lets Control Servo Using ESP32
Control servo from network – Control Servo from remote location
Control servo from android phone – Controlling ESP32 connected appliances
HttpWebServer Using MicroPython – How to make ESP32 as HTTP webserver using MicroPython
ESP32 based Serial to MQTT bridge – Arduino: MQTT to Serial Bridge Using ESP32
MQTT based remote LED On/Off Control – Arduino: ESP32 Home automation (Simple On/Off control using MQTT)
Interfacing Arduino UNO with ESP32 – Arduino: Interfacing Arduino UNO with ESP32
How to use external RAM present in WROVER – ESP-IDF : Using External RAM present in ESP32 WROVER module
End to end IoT use case – ESP32 Based On/Off Boiler Controller



Sankar, thank you for your posts on ESP32. They’re very helpful. I’m fairly new to ESP32, and wanted to know how to send an image to ESP32 from a node.js server. When I do a HTTP get request, ESP32 is able to receive a text or json response from the node.js server and save it to a file on spiffs properly. But when I try to get an image file from node.js server using HTTP get request, the buffer memory in EPS32 doesn’t seem to get the image data right, and so it saves garbage to the spiffs file. Any thoughts on how I can do this? Thanks.
Hello Sankar,
I am a senior citizen trying my hands on ESP WROOM 32.
I request you to explain the initial connection and start-up of the board.
Initialization and configuration may also be shown in a diagram.
Thanks